- To view all uploaded Sector forms, click “Sector” in the main menu (figure 58). The Sector forms listed are for those team members that have been checked to display in the “Accounts” section of the website. A list of currently selected users is displayed at the top of the screen.
- To delete Sector forms, check the checkboxes for the desired forms and click the “Del” button on the top of the column of checkboxes. Clicking the “Delete” link for a specific Sector form deletes that form only.
- To edit a Sector form, click on the “Edit” link for a Sector form (figure 59).
- To view a merged pdf of the Sector form, click the “View” link or the pdf icon for the desired Sector Form (figure 60). The pdf report will contain the main Sector form data, any waypoints associated to the Sector as a list, and any Waypoints associated to the Sector as a list, as well as any photos attached.
- To mark “Completed” status for Sector forms, check the checkboxes in the “Completed” column and click the “Update” button at the bottom right of the screen.
- To add notes to any Sector form, add content in the “Notes” boxes to the right of the form and click “Update” at the bottom right of the screen. This same box also appears at the top of the Edit screen in figure 59.
- To add a new Sector form, click the “Add New Sector Form” link on the upper left of the screen.
- To view a list of attached Waypoints and Worksites to a Sector form, click the “View List” link (figure 61).
- To add existing Worksite Triage forms or GPS Waypoints to this Sector form, click the appropriate button at the top of the “View List” page (figure 61). Check the checkboxes for the items you wish to add to this Sector Form, then click “Add Checked Worksites” (figure 62) or “Add Checked Waypoints” (figure 63), and these items will be associated to this Sector form.
- To view the attached Waypoints or Triage forms on a map, from the “View List” page (figure 61), check the checkboxes for desired items, then clicking on the “Map” button above the list.
- To remove attached Worksite Triage or GPS Waypoints, check the checkboxes for desired items, and click the “Del” button at the bottom of the list. Clicking on the “Delete” link for a specific item will only delete that particular item.
- To download Waypoints and Worksites in Excel, click the “Export Waypoints” link or Excel icon on the upper right of the “View List” page (figure 61). This will download all of the Waypoints and Worksite info into an Excel file (figure 64), along with any GPS Waypoint icons and photo previews embedded in the Excel file.
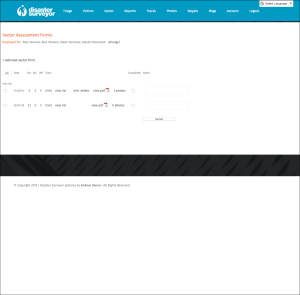 Figure 58. Sector form home |
|
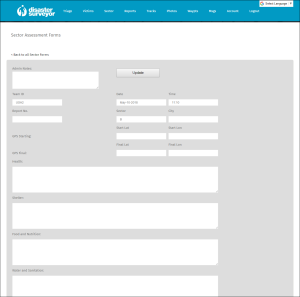 Figure 59. Edit Sector form |
|
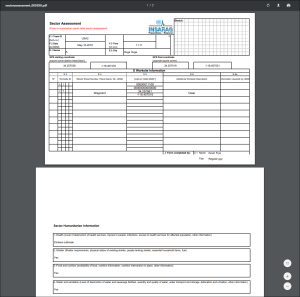 Figure 60. Sector form pdf |
|
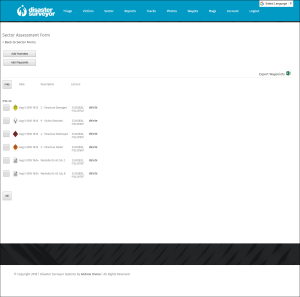 Figure 61. Sector form attachments |
|
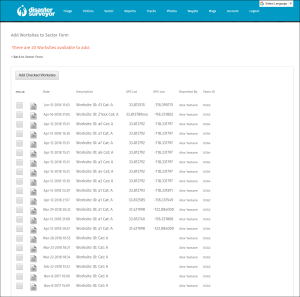 Figure 62. Attach Worksites list |
|
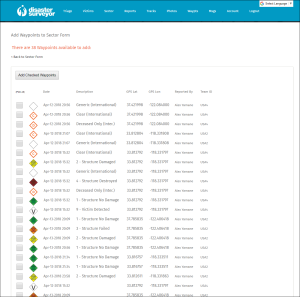 Figure 63. Waypoint attach list |
|
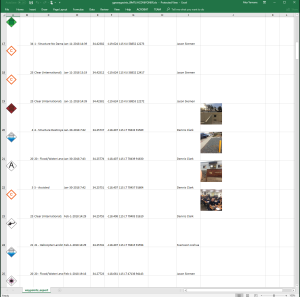 Figure 64. Sector Waypoints download |